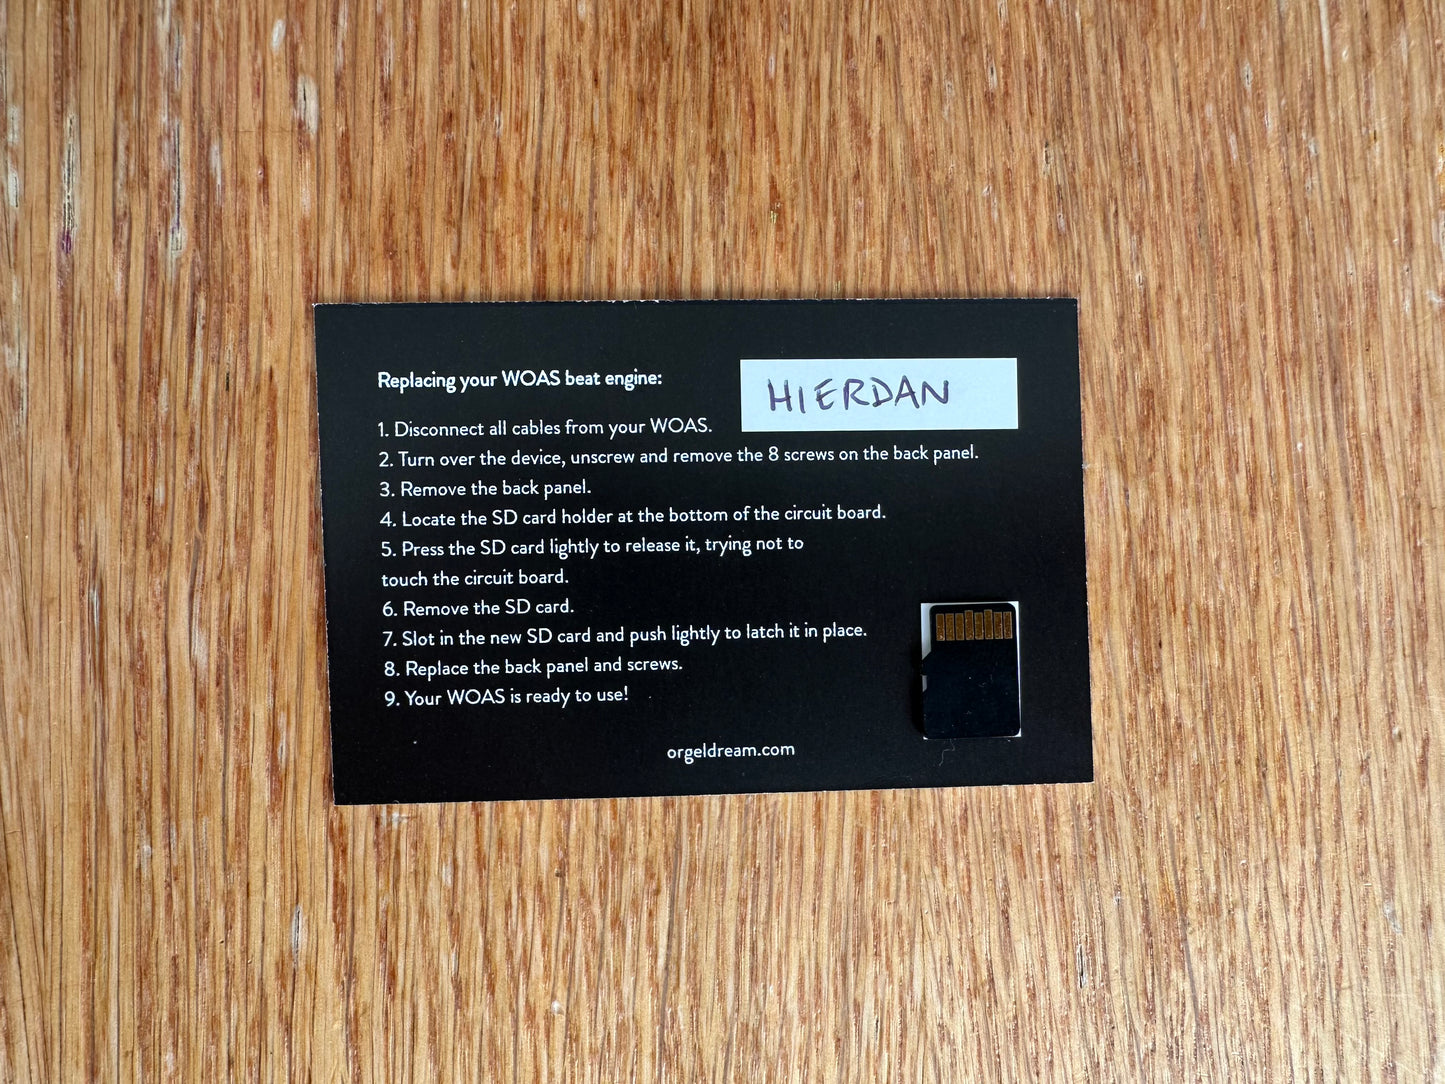
The second engine you can swap in and out on a microSD card.
HIERDAN is a tight, responsive synthesis system featuring enhanced sync and MIDI capabilities.
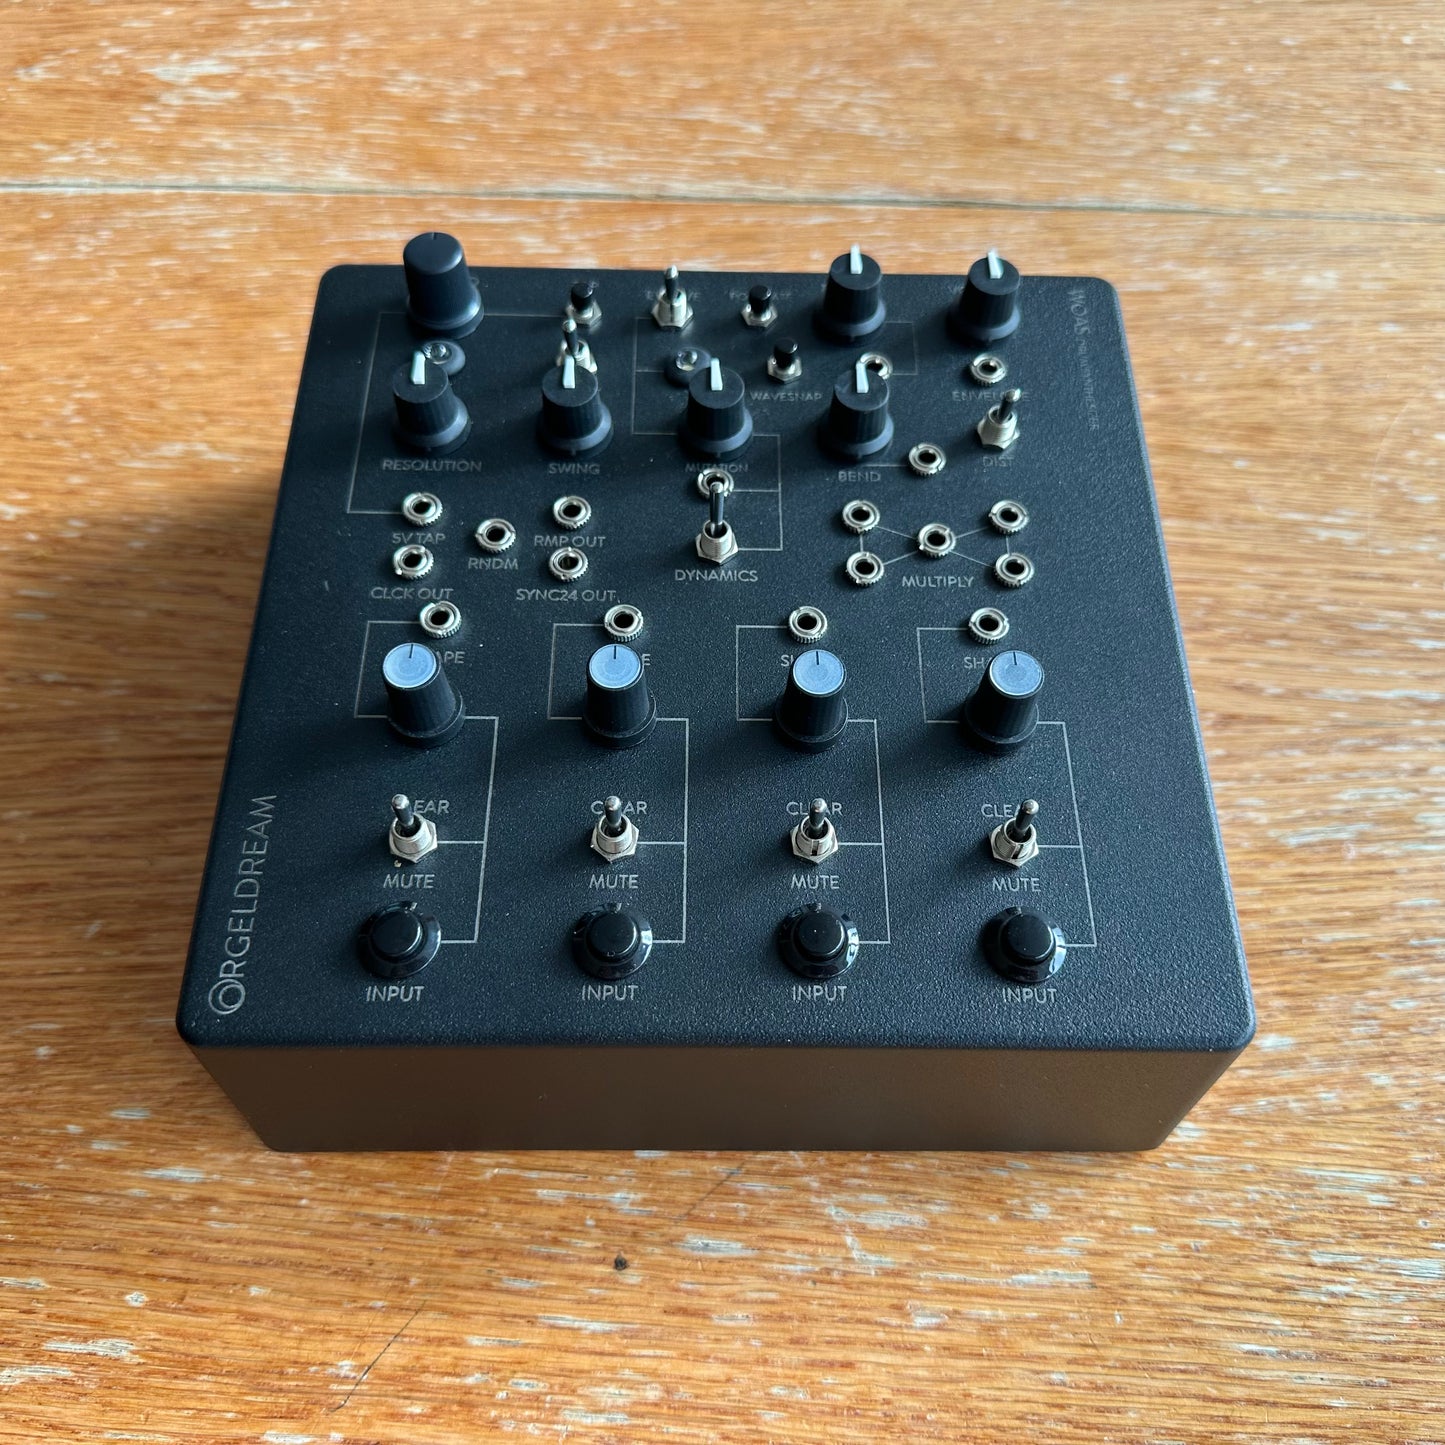
The ‘5V TAP’ input now functions as a CV clock sync. It expects a 1 or 2 PPQN signal or an equivalent pulse that rises from 0V.
Flipping the ‘DYNAMICS’ switch down allows you to fade in respeeding sampler using 'MUTATION'. It captures snippets of your rhythms and replays them at random speeds, producing glitchy, high-frequency skitters. This creates self-similar subrhythms derived from your original material.
‘WAVESNAP’ now serves as the tap input for a rhythmic tremolo applied to the audio input. Flipping ‘START’ down clears the recorded rhythm. It works with both mono and stereo signals.
The built-in tempo-synced delay now includes modulating filters, adding spectral character to the echoes.
Each voice outputs MIDI on a dedicated channel (1 to 4), letting you route them individually over USB. The Shape control maps note numbers across the 0–127 range, while velocity follows your DYNAMICS setting, just like the stock WOAS.
MIDI clock is received over the USB power connection.
The unit also accepts MIDI notes and velocity (as per the stock WOAS), though the input mapping differs from the output mapping mentioned above. This prevents feedback and enables layered sequencing.